Need tips on how to professionally paint your CEILINGS? Keep reading!
Next up in our #LarrysLessons Series, we are going to cover the step by step tips, we as professionals, advise you to take in order to paint your ceilings for a clean and long lasting finish.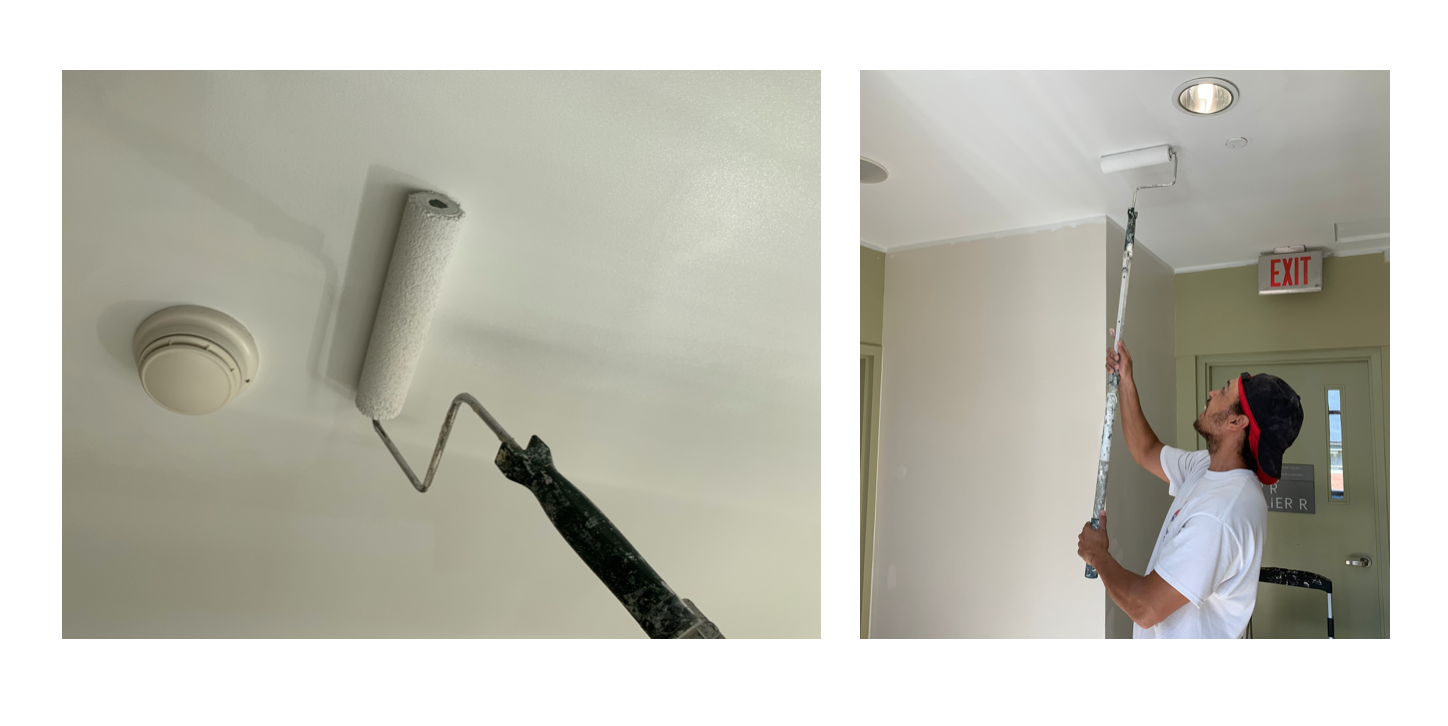
Since beginning this series, we have covered how to prepare walls for paint, choose a correct paint finish, paint walls & more! Now we will embark upon different spaces in a room that need specific painting products, tools and techniques. The first one, a major part of any room, is the ceiling. Ceilings come in all different shapes, sizes and colours. Nowadays a clean, smooth finish is important to the average property owner. Say goodbye to popcorn ceilings! As a professional painting company, when hired, our clients are typically looking to remove the bumpiness of a popcorn ceiling and repaint to give a cleaner, more contemporary look.
In this article we will be focusing on RESIDENTIAL and COMMERCIAL ceiling painting as industrial ceiling painting requires very specific products and techniques, which I would recommend hiring professionals for. If you currently have popcorn ceilings and are looking to remove them, we suggest hiring professionals as well, as it is a more lengthy process.
Now let’s begin…
- Choose the room and colour you desire to put on the ceilings. It is important to decide these before starting any painting process. Different rooms may require different ceiling paint and if you dare to get bold, different colours!
- Now that you have your plan set, let’s get into action. Remove all furniture from the room to avoid damage. If you can’t remove the furniture, that is okay. You can move the furniture towards the centre of the room. Get large plastic sheets and cover the furniture fully. For additional protection, you can tape down the edges of the plastic to ensure no spillage damages your furniture.
- Put down drop cloths all over the floor. You can also tape them to the baseboards to ensure they stay in place when you are going to inevitably move around a lot.
- Remove any ceiling fixtures that you feel will make your job easier (i.e. hanging lights)
- Remove dust or grime from the ceiling by doing a light dusting with a cloth or duster.
- Take a step back and examine your ceiling to look for any cracks or hold that may need repair. You want to handle these before you start painting.
- In the case that you do have any cracks/holes, if they are big enough apply paper tape and plaster it (this will be covered in more detail in a #LarrysLesson coming soon), and if it is smaller you can just use plaster. Ensure these are smoothed down and sanded.
- Take painters tape and apply it on the top corners of the walls in order to prevent spill-over of ceiling paint onto the walls.
- Cut the corners of the ceiling with primer paint.
- Prime the remainder of the ceiling with a long roller brush.
- Allow it to dry according to the primer manufacturer’s instructions.
- Go over it again with your desire paint colour, starting by cutting the corners and roller painting the remainder of the ceiling. Allow it to dry for a few hours or the manufacturer’s suggested time.
- Add a second coat as needed and allow it to dry per the paint’s instructions.
- Clean up and enjoy your new ceiling.
Thank you for reading our #LarrysLesson on HOW TO PAINT CEILINGS. If you have any further questions or concerns, contact us and we can provide you a free consultation. We highly suggest using professionals as our expertise will ensure long-lasting, smooth finish and quality. With 35 years + of experience in this field, we know exactly the type of paint and how to apply it that will help you achieve the best results.
Don’t hesitate to call us at (416) 690-3890 or email at sales@larryspainting.ca
You can also press the “CONTACT US” button at the top right of this page and fill out a form, where we can get back to you quickly.


